I was talking with some folks on the Marvel Champions discord a little while back, and a few people expressed interest in a Wrecking Crew active villain token to accompany the scenario pack. In this scenario, players square off against four separate villains, and this token will help denote which one is active at any given time. So, let’s make it happen.
Designing the Wrecking Crew Active Villain Token

First, it’s time to design the token in Fusion 360. In this previous post, I showed a bit of this process. I used one of my favorite resources, game-icons.net to find a starting point for this Wrecking Crew token. The chain wasn’t working at the desired scale. It looked much better after swapping for a simple cable. Since my goal is a finished surface, I added some pegs and alignment holes so I could separate the design from the coin. These will let me print them as separate pieces and join them after I’ve finished the surfaces. Once the design was complete, the printer got to cranking out two of these beauties.
Prep Work

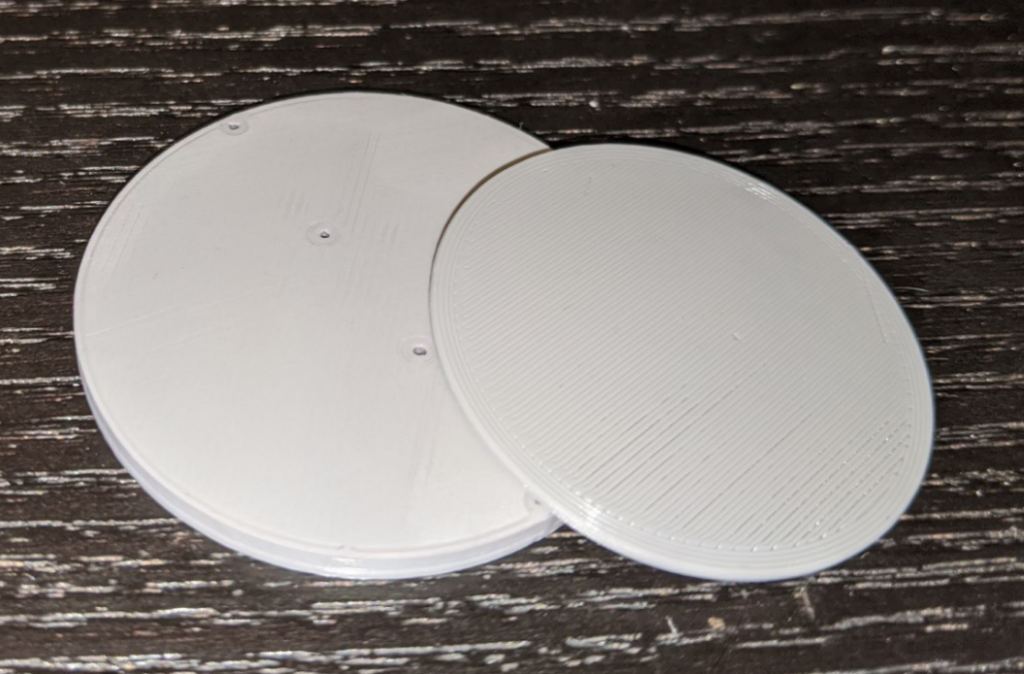
You can see in the photos, the finish leaves a bit to be desired. This is where the cleanup process starts. Starting with sandpaper disks, I work up from 120 grit to 240 grit. At this point, only the disk needs sanding. We don’t want to polish at this stage because the paint needs some texture to grab in our next step. After sanding, I masked off the outer edge to keep the paint off. This will make the outer edge consistent after we attach all the pieces.
Painting

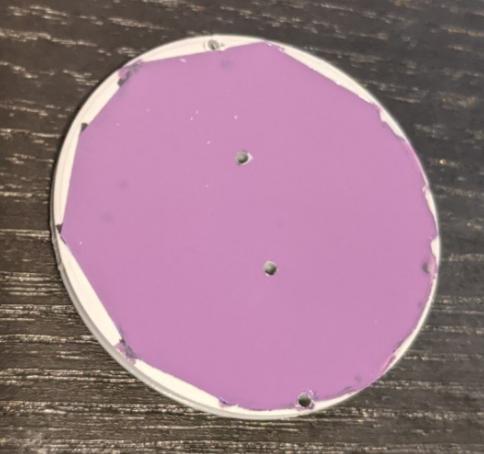
Now that all the prep work is done, I start by masking off the outer surface. I spray on a black primer coat. Then a nice glossy purple gets sprayed to finish this step. If you’re not happy with the surface, a light sanding and another coat will help.
Finishing Up the Wrecking Crew Active Villain Token

Once the paint is dry, super glue the face pieces into place, using the alignment pins. I then repeat the sanding process I used on the disk, following up with Zona papers to polish the finish up to a gorgeous shine. Just like with sanding, a splash of water will help. These polishing papers go all the way to 1 micron and are well worth it. Repeat this process along the outer rim if you want.
That’s everything! If you’re interested in making your own, the model is available on Thingiverse here. A list of supplies I used can be found below. If you make your own, tag me on Instagram so I can see your version.
If you’d like to support the site, you can use the Amazon affiliate links below. As an Amazon Associate I earn from qualifying purchases. Funds from these links go towards supporting this site.
