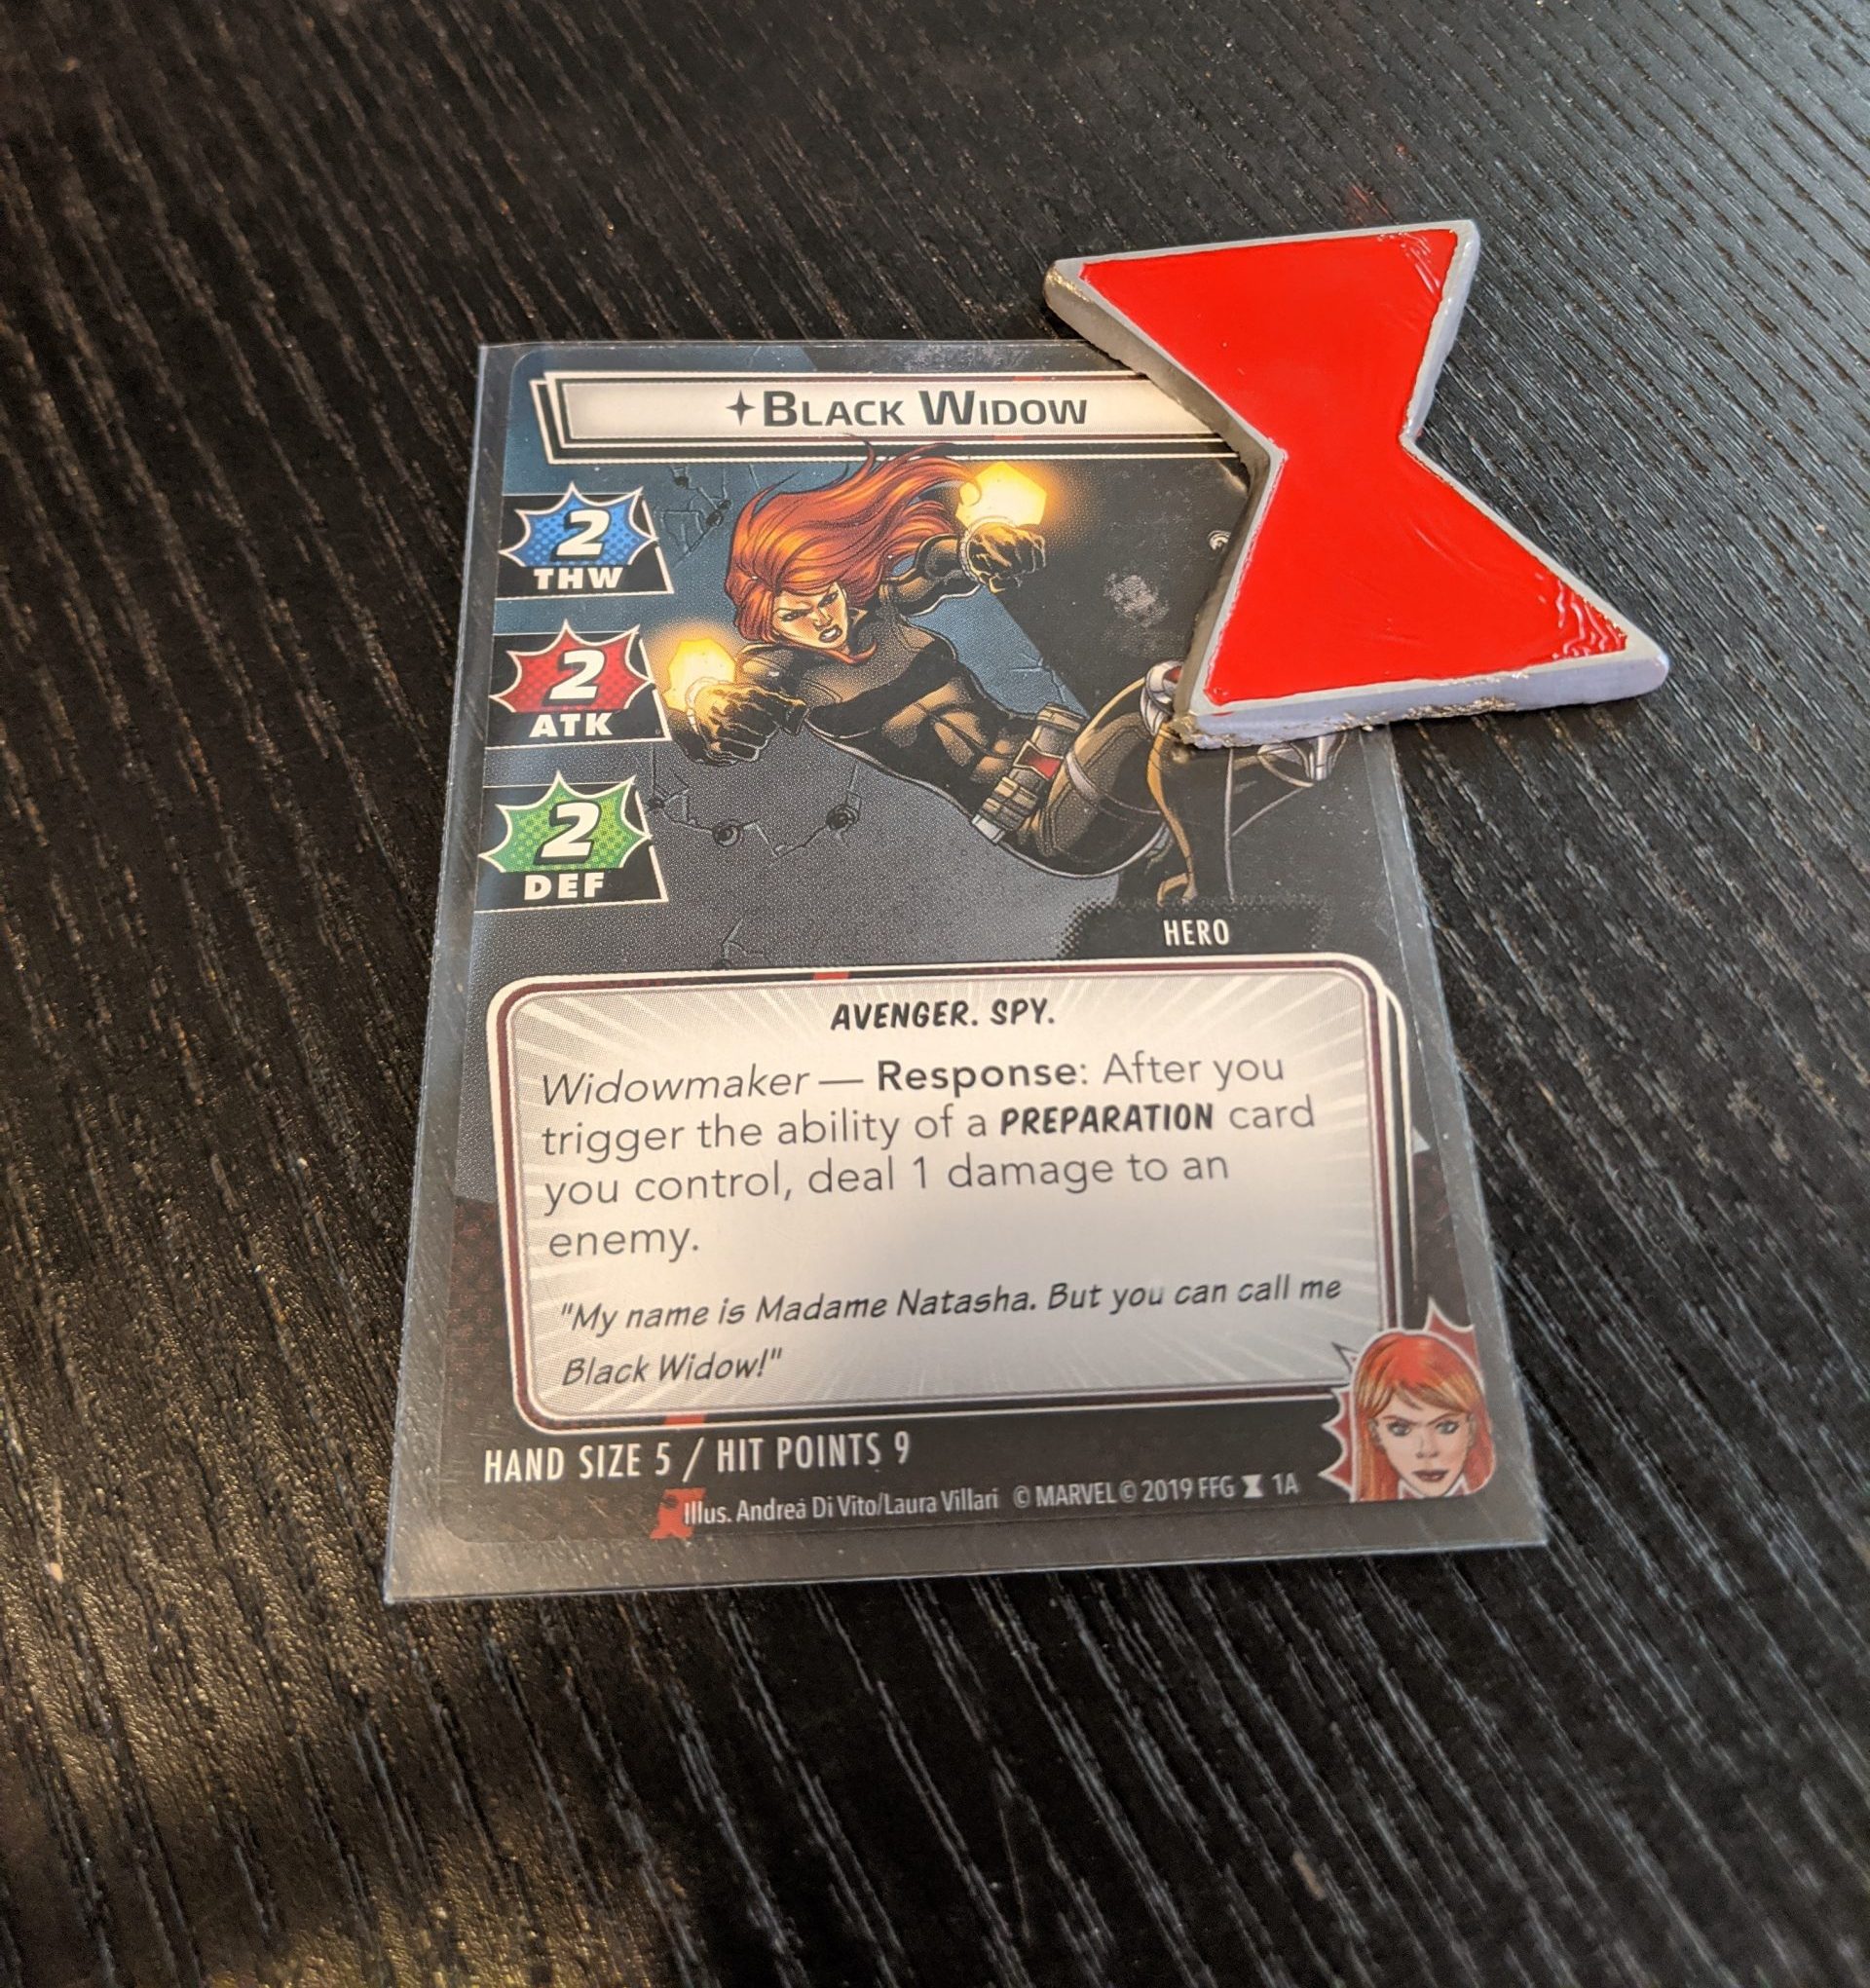
I don’t know about you folks, but I love the feel of some weighty game components. Something about the way they feel in your hand is just so satisfying. So, I set out to make a hefty Marvel Champions first player token. Originally I went with a S.H.I.E.L.D. logo, but after some setbacks, I decided to try a simpler design, Black Widow’s emblem. Like most of my articles, a list of supplies I used can be found at the end of the post.
Preparing the Model
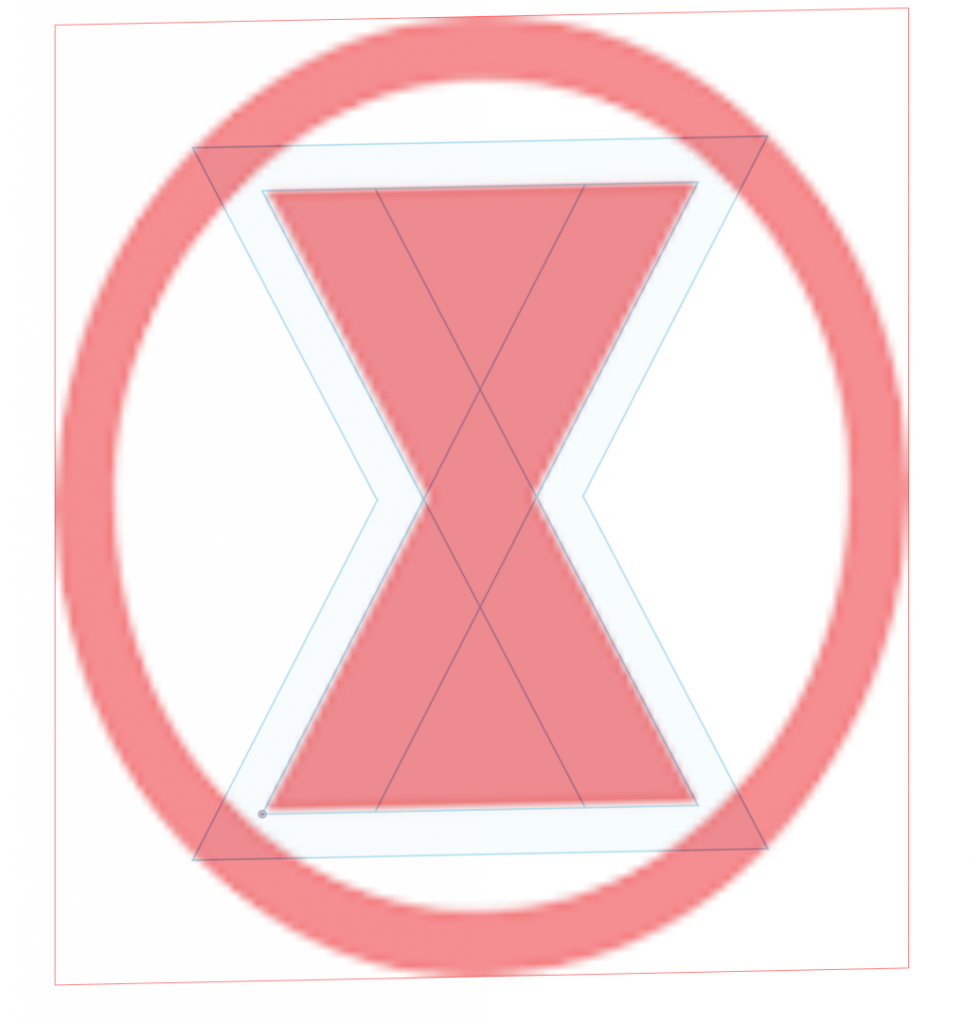
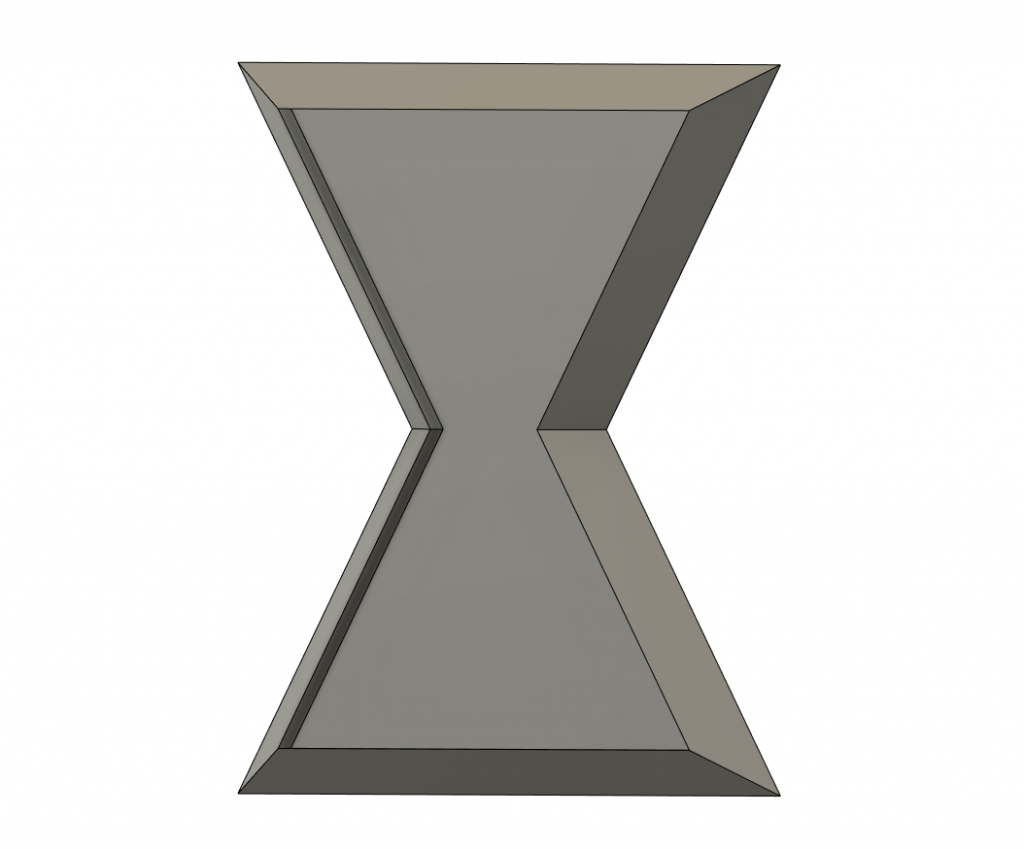
First I threw together a model of the logo. I added an image of the symbol and scaled it to about 1.75 inches in height. To get the tapered edge, I added a 5 millimeter offset to the outer border. An equally sized chamfer produces a nice sloped edge.
After printing, we need to finish the surface a bit. I don’t have a good way of touching up the inside, but ultimately paint will help max and imperfections there. The edges though will get a sanding to about 400 grit, and some filler putty, just like I talked about in some of my past projects. For sanding in these angled edges, I found it easiest to stick the adhesive-backed sanding disks to my workbench and use the table edge as a guide. Another useful technique can be adding a light coat of automotive filler primer.
Mold Making
Around this part of the project is where I leaped out of my comfort zone. We’re going to make a mold of our 3D printed piece. We need a liquid-tight vessel to pour the mold in. I used medium density fiberboard (MDF) since I had it on hand, but foam core board works really well too. However you assemble the box, use hot glue around all of the seams to seal them up. Don’t skimp on this step. Otherwise you’ll end up with a fairly expensive puddle leaking everywhere.
Once the hot glue is dried, you’ll want to stick your 3D printed piece inside the box. You can use double sided tape, or mimic the effect with blue masking tape and super glue. This video describes the differences better than I can.
Now it’s time to mix and pour our silicone! Make sure you read the manufacturers safety sheets and take all the recommended precautions. I worked in a well ventilated space, wore a respirator, and Nitrile gloves, but you should read the documentation for the specific materials you’re using. I went with Mold Max 60 by Smooth-On because it’s designed for use in high-temperature environments. And since we’re making a metal Marvel Champions first player token, high-temperature is a requirement.
This particular silicone is mixed by weight, so I used a scale to combine the two parts in the correct proportions. I used a calculator on the site to figure out how much to make. After thoroughly mixing, I poured the silicon into the mold box, near a corner. You don’t want to pour directly onto your model, as that could leave air bubbles trapped inside. Another way to help alleviate bubbles is to pour slowly from a bit higher in the air so you get a thin ribbon of liquid. Once you’ve poured in all your silicone, the whole thing needs to cure. For my material, it was 24 hours of curing. I never claimed making this first player token would be a fast process.
Metal Casting
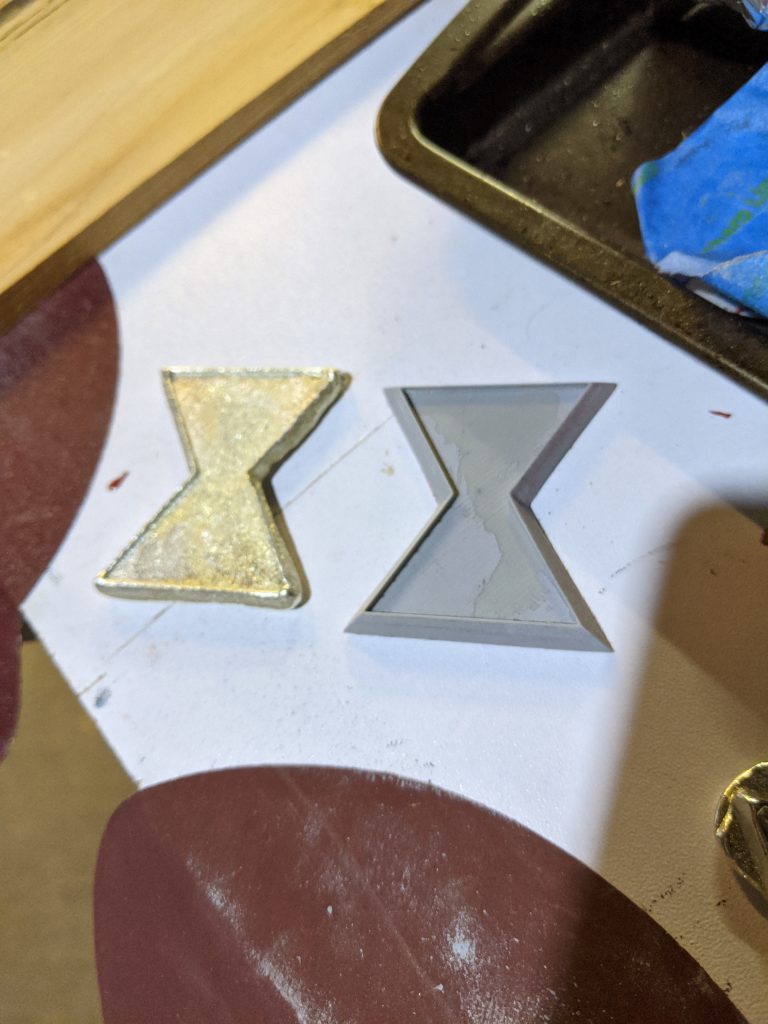
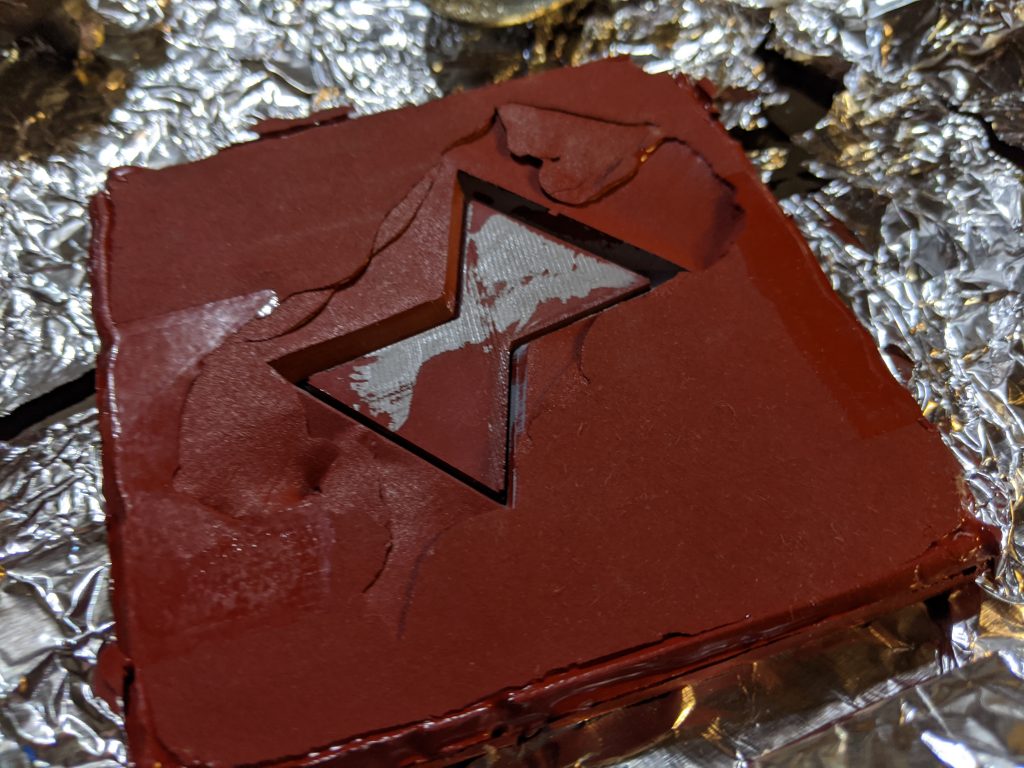
Once everything’s cured, extract your new mold from its box. If you used MDF for your mold box, you can probably reuse it for future molds. My first few attempts had some missing details, but the suggestions I made above should help alleviate them. At this point, all that’s left is heating up the pewter in a furnace and pouring it into your mold. Again, safety is important, do your own research on this topic. This time I went with heavy leather gloves and a respirator. Dialing in the temperature of the metal is a bit of an art form. If you get it a bit warmer, it helps the molten metal flow into details.
The best part of this process is that any pours you’re not happy with, can just go back into the furnace for another attempt. Eventually I got a piece pieces I was happy with.
Finished First Player Tokens
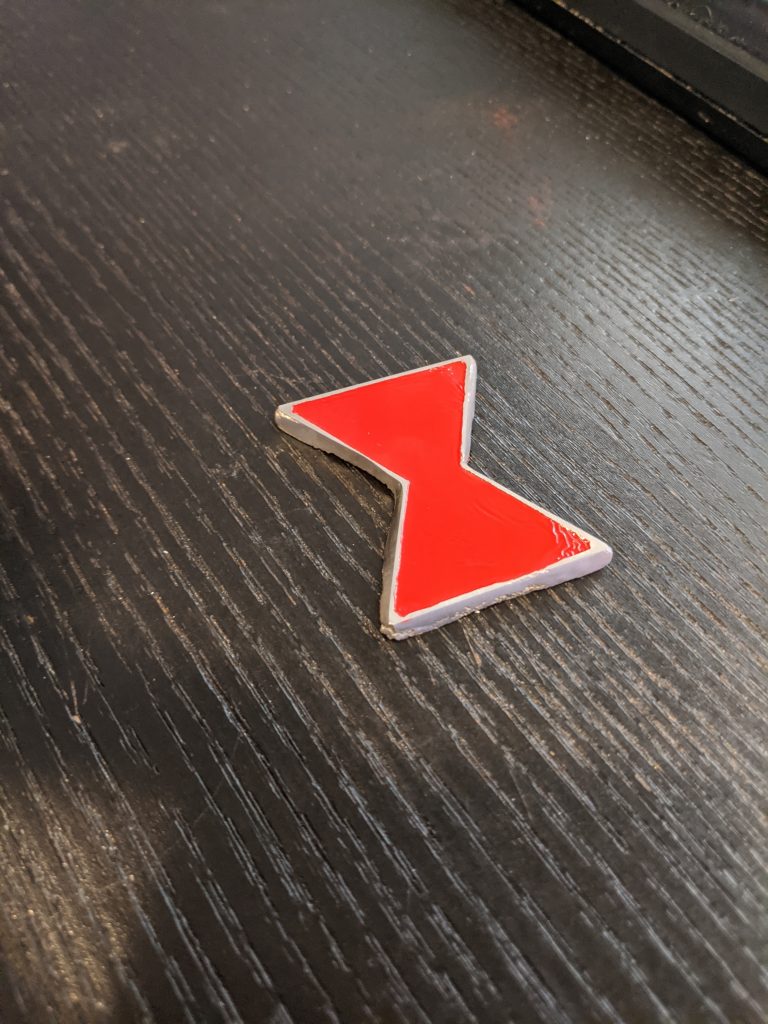
At this point, the tokens don’t need much more. I used some glossy enamel paint. for the inner portion. I went with enamel paint because it’s a bit more durable and thicker. This will help hide the imperfections left by the unfinished 3D printed surface. The raw metal surface can be finished pretty much the same way as the plastic because pewter is a pretty soft metal. And here’s the metal first player token, in all its glory. Ignore the thumb print in the paint. It might be a good idea to let it dry longer than I did.
Thank you to all our Patreon supporters who help making this content possible, especially:
Dan (KennedyHawk)
Thomas Giaquinto
If you’d like to support the site, you can use the Amazon affiliate links below. As an Amazon Associate I earn from qualifying purchases. Funds from these links go towards supporting this site.