The Marvel Champions Living Card Game is still going strong. In the past few weeks, Black Widow is finally out in the United States. For anyone who’s all caught up on content and choosing to sleeve their collection, space is at a premium in the core box, with the stock insert. I only chose to sleeve the encounter cards and my currently assembled decks, and I’m still just about out of space. Time to put together something a little more thematic.
The most important piece, for me, is the overall container. A popular go-to is the Hobby Lobby artist case, and you can even get an insert from Broken Token which fits inside it. For a storage solution, it doesn’t get much better. But I want to make something my own, that’s a little more in line with its contents. I partly blame Adam Savage, of Mythbusters’ fame. He opened up my mind to the notion of creating thematic storage to go with the contents.
Watching through the Marvel Cinematic Universe a bit opened my eyes to a somewhat pervasive element throughout the films. Aluminum briefcases are all over the place. In Avengers, Fury stashes the Tesseract in one. In Infinity War, T’Challa delivers Bucky’s new arm in one. In Endgame, Cap takes all the Infinity Stones back to their respective times in one. I’m sure I could find many more examples

The Container
I started pouring over Amazon, eBay, Etsy, and any other online retailer I could find the right one. It needed to be tall enough inside to fit cards. Either horizontally or vertically, I wasn’t picky. The form factor was important because I wanted it to feel visually similar to movie versions. I eventually found this one. It’s not super thick, so the cards will go horizontally. I recommend looking at the dimensions and seeing if the case you’re looking at will hold the number of cards you want.
After doing the math, I figured I could get three rows of cards in there. Ultimately, this fits everything through the Doctor Strange pack. My goal wasn’t to have a solution for everything and forever. Most of my playing happens at home, so I don’t mind having to split the collection over a few boxes. I want it to be able to help some hero decks, accessories like tokens and dice, and as many encounter cards as possible. With this setup, I can grab this one box, and play wherever. For now, it fits everything. Once the upcoming Rise of Red Skull box drops, I’ll probably need to swap out the non-deck player cards. If this isn’t your goal, you can certainly get bigger boxes and the same concepts apply.
The Inserts
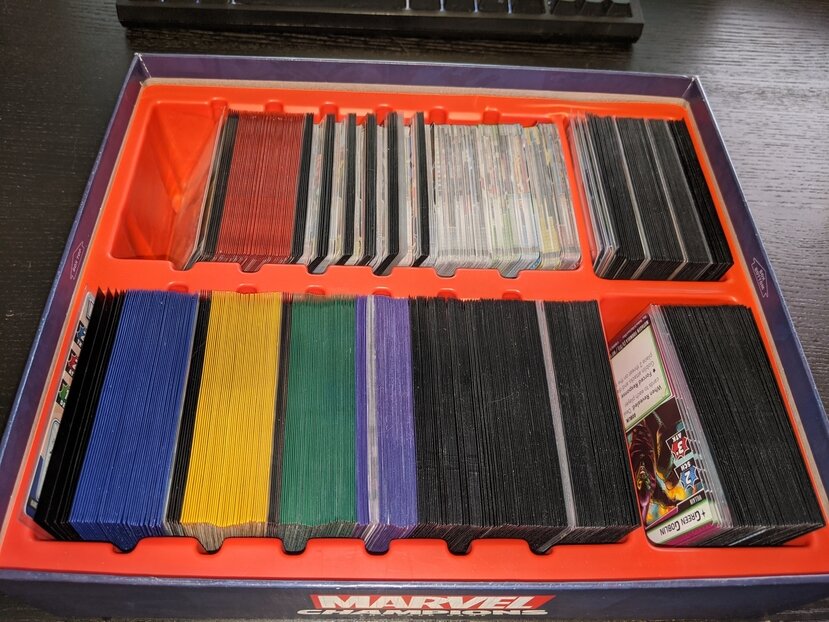
I designed and 3D printed these trays to go into the box. My luck was just off, and I needed to print each row as two trays because my print bed was about 2 cm too small. I designed it with slots to lock dividers in place. This is 100% optional, and you could get away with floating dividers. The set location dividers are going to lead to less optimal use of space, but also give you room to get your fingers in and more easily grab what you’re looking for. Just like with the case decision, there are trade-offs. The trays and dividers I designed are available here.

After a few days of off-and-on printing, here’s what the whole interior looks like. The case came with some foam, which I left on top to fill up the extra space and keep the cards from coming loose. I store the rule books and pamphlets behind it. There’s a little extra space on the side with the hinge. This is where I keep dice, status cards, and any other accessories I accumulate.

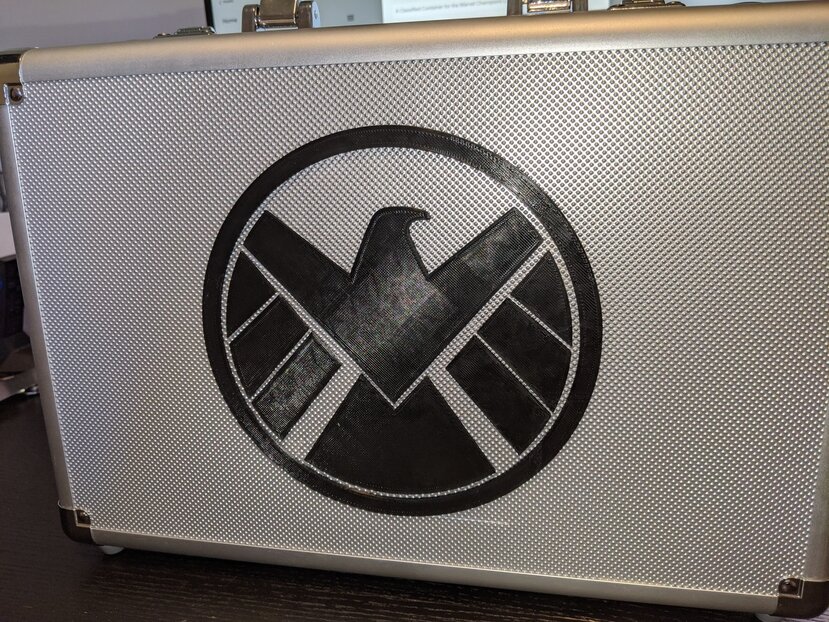
Now that I have a complete, workable storage solution, it’s time to jazz it up a bit. I found an SVG file of the S.H.I.E.L.D. logo and printed it up proportional to my case. I printed on blue tape, not for bed adhesion, but to give the back of the print a rougher texture. Glue likes rougher textures, to give it more surface area to grab on to.
Making it Heroic

I used some more tape as a transfer medium. I spread tape over the top side of the print, to keep all the independent pieces in place relative to each other. I then slowly removed the print from the bed. So now, I have the back of the logo available for a generous portion of glue, once we’re ready. I laid out some tape lines on the case to help me align it centered on the case.


At this point is when I measured my print and drew some marks on the tape to help me align everything. Once I was ready, I slathered some cyanoacrylate glue on and positioned everything.

Turn out one of the pieces of the logo was a bit warped. I wasn’t happy with it, so I re-printed that single piece, and then manually positioned it. Thanks to the logo having lots of alignment and even spacing, this wasn’t too bad. And with that, I’m done. For now at least. I want to weather it a bit, but I’m being a bit precious. I think I need to practice on some scraps and smaller projects before I’m ready to tackle my gorgeous case.
The Reveal

If you’d like to support the site, you can use the Amazon affiliate links below. As an Amazon Associate I earn from qualifying purchases. Funds from these links go towards supporting this site.